- All products are added to your cart.
Transfer with Laser PCB onto wood
| The question is regularly asked for how an image printed with a laser printer can be transferred to wood. This can of course be done by means of a sticker or a waterlide decal, but usually it is required to have no film layer on wood so to preserve the natural effect. So I started testing some methods, and I came to the conclusion that the Laser - Printed board heat transfer paper (PCB) is very suitable for this. Originally this material is intended to transfer black toner onto a printed circuit board, so that where black toner lays it gets not etched. This material appears to have potential for other purposes, such as transferring images to wood and possibly other surfaces. |
|
Precautions!!:- If you want to transfer a perfect image or a very detailed photo in its full glory, it is better to use a waterslide decal. It is difficult to get a perfect image without missing a piece with the PCB transfer. Of course this depends on how smooth the wood is and how well the transfer adheres to the material. What really charms me personally about the PCB transfer on wood is the fact that it is not so perfect, with a decal it always seems so new and as if it was printed directly on it. |
|
|
|
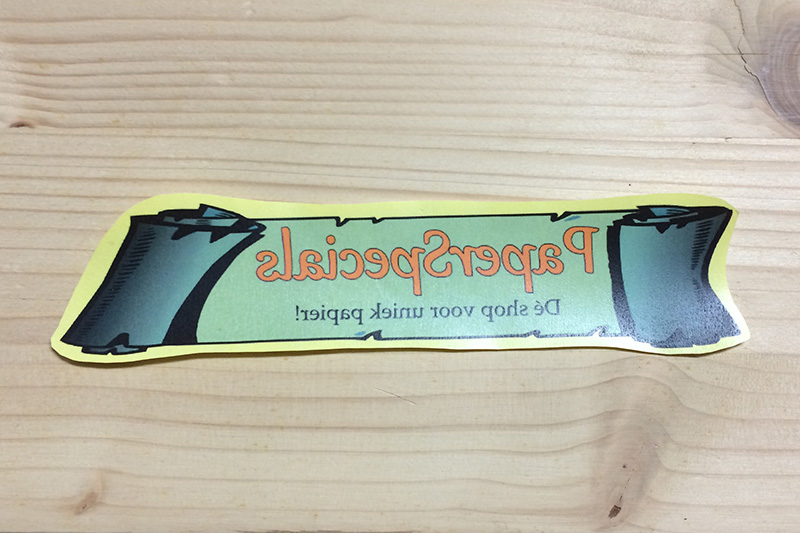
How to proceed:Step 1:Print your image on the PCB heat transfer paper in mirror image. Use the paper as "normal paper" and set the quality to "normal" or "high", turn off fast or dull printing. Let the sheet rest for several minutes after printing so that the toner can cool and adhere well. You can use color images, please note that the color of the wood plays a role in the color of the image. If you print a yellow text and transfer it to a mahogany (red-colored wood), the text will turn orange. If the wood is fairly dark, then you have a chance that yellow is less or hardly visible. |
Step 2:Cut out the image, it is not exactly necessary to transfer the toner. However, the smaller the surface of the transfer, the shorter you need to iron or press. Do keep a bit of space so that you can apply the tape here in the next step, if the tape is over the image then this part will be transferred less well. Step 3:Make sure the wood is dry, dust and grease free and that there are no coarse pieces of wood or splinters. Place the transfer with the printed image down on the wood and fix it with masking tape preferably with a heat resistant tape. Do not stick tape over the image to be transferred, do this this part will be less well transferred or have much longer work to transfer. The most important thing when transferring is that you must ensure that the transfer does not shift or move, otherwise the image becomes unclear and uneven.Preheat your iron or heat press up to 200-230 degrees Celsius, or the linen preset. |
Photo 2: Transfer mounted in place with tape. |
Step 4:Place an old piece of textile like a T-shirt,tea-towel or similar piece of fabric on the transfer. This ensures that the transfer is pressed into the grain of the wood, and that any adhesive from the tape does not come onto the iron. The thicker the piece of fabric the better you get the image in the grain of the wood, but the longer you have to iron / press. Then iron or press the transfer for about 4 minutes with some pressure (press on medium is sufficient). Make sure with ironing that you are sufficiently over the whole image, when the image is larger than your iron you may need more time. Step 5:After ironing / pressing, remove the piece of fabric and make a plug of it, with some pressure you rub the transfer some extra so that it is well in the grain. Give extra attention to grains that you clearly see, these are often a bit deeper. Then let the whole cool down completely, depending on the size and the thickness of the object, this takes 15-30 minutes. Then carefully remove the tape and remove the transfer. It may happen that the transfer sticks to the wood, use the tip of a hobby knife to carefully pop up the transfer.
|
|
|
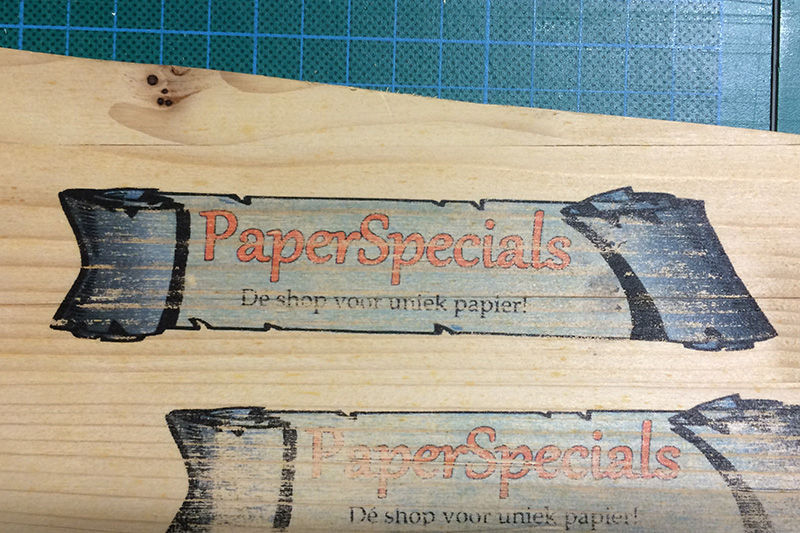
Photo 3: Imaged transferred to wood.
|
Extra information:
- How smooth or perfect the image is transferred is depending on how smooth and clean the wood is.
|


